The Rosa Pixie Hat

It's been really cold here lately. So I wanted to make my great niece a hat that would cover her ears. I designed this bonnet for her. I used the pumpkin color because she was wearing a sweater in that color one day. She is such a cutie.

I recently saw the herringbone half double crochet stitch and it's quite fun! It's an easy stitch but not as fast for me as doing a normal half double but I do enjoy it and it has a nice look to it when you are finished. I hope you enjoy making this bonnet with the herringbone half double crochet.

So far, I have only made it for one size. Toddler size. If you want to make it smaller or larger, adjust the ribbing. When making the ribbing, try it on the child, or measure their head from one side to the other. I may add more sizes later.

This post contains affiliate links for which I may make a small commission with no extra cost to you should you decide to purchase. This only keeps the blog going and I'm able to give some recommendations. Thanks for your support. Full disclosure and privacy policy here.

Materials:
worsted weight yarn
(look for the 4 on the label)
I used I love this Yarn! in Cream
and Pound of Love in Pumpkin Spice
Size 5.00mm Hook / H
Scissors
Yarn needle
Stitches:
SC = single crochet, insert your hook into the loop, yarn over and pull up a loop, yarn over and pull through both loops.
SCBLO = single crochet back loop only, insert your hook into the back loop, yarn over and pull up a loop, yarn over and pull through both loops.
Sizes
Toddler ages 1-3Toddler = ribbing 53 rows
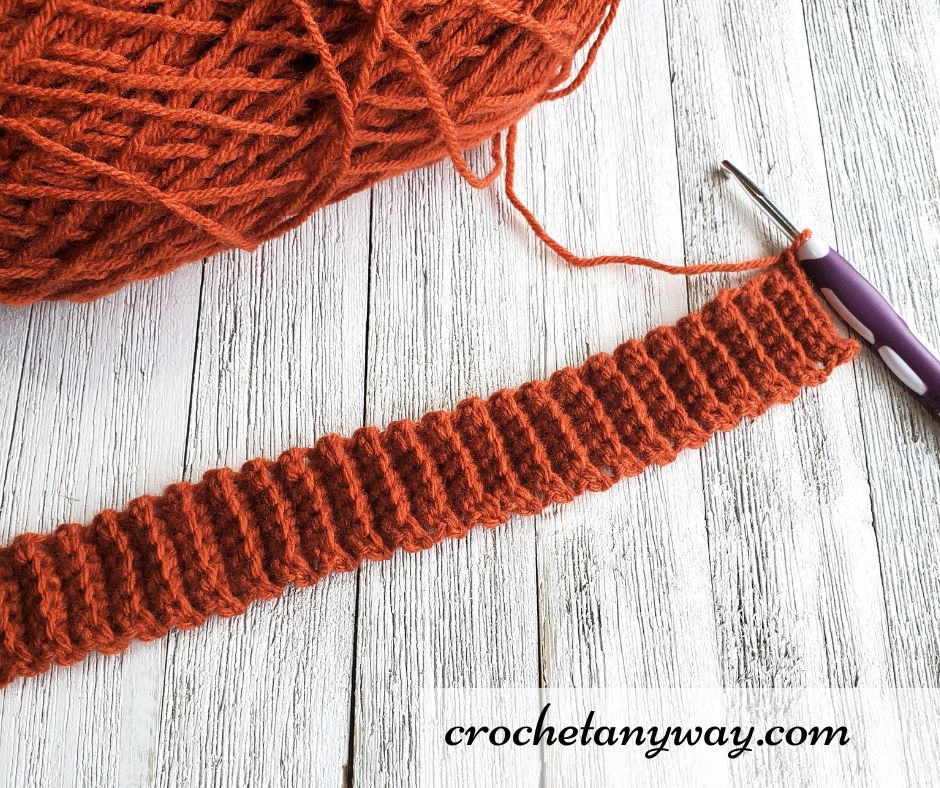
Ribbing
Chain 7
Row 1: Sc in the 2nd chain from the hook, sc in the next 5 (6) ch 1 and turn
Row 2: Sc BLO (back loop only) in all 6 stitches ch 1 and turn
Row 3: Sc blo (6 stitches)
Repeat until you have the ribbing complete for your size pixie hat.
53 rows for Toddler size.
Turn your ribbing and work along the long side of it.
Chain 1

Row 1 HHDC along this length (53)
Row 2 HHDC chain 1 and turn (53)

Tie off and leave a long tail.

Attach yarn to the corner on one side of the bottom of the bonnet.

Your pixie hat is complete! Put it on your Pixie.

For more patterns go to https://www.crochetanyway.com/p/free-patterns.html
Check here for Premium patterns
Or check my ravelry store
There are patterns and printables in my Etsy store
https://www.pinterest.com/crochetlife2/
https://www.instagram.com/crochetanyway/
https://twitter.com/AnywayCrochet
This pattern is the original and unique design of crochetanyway.com. Please do not resell or redistribute this pattern including photos. You may sell what physical items you make from it. Link back to this post or to my store when referring to my pattern. Thank you.


This is the unique and original design by crochetanyway.com.


Check here for Premium patterns
Or check my ravelry store
There are patterns and printables in my Etsy store

https://www.pinterest.com/crochetlife2/
https://www.instagram.com/crochetanyway/
https://twitter.com/AnywayCrochet
https://www.youtube.com/channel/UC0wDpZ6eH3DFSjZakpogeBQ
Check out more free patterns on allfreecrochet.com

